
Gold Mosaic Pendant
This does look rather good and is very easy to make. Choose your colours, maximum four, otherwise it gets too busy. If you are only making one to two pendants then half a block of each colour should be sufficient. Condition your clay and roll into little fat individual sausages. You then need to choose a 'grout' colour. This is usually, white, silver, grey or for the daring, black. A pasta maker is very handy at this stage, it ensures all your grout is of a uniform thickness. Pass the grout colour through the pasta machine, firstly on a wide setting and then on a narrow and cover your sausages (not then ends). When they are all covered place together and roll to form one large sausage. Now, this is the fun bit. Stand your roll on end and cut through two large areas of colour, from top to bottom. Cover one of the exposed areas with your grout colour, trim and smooth the edges. Now you need to turn this section around and place against your other cut side of clay (the colours should not match as they did before you cut them). You need to do this at least 4-5 times, always varying the way you put the colours back together. Once you have achieved the variation you want, roll gently, be careful not to squash the colours. The next step is to lengthen the roll. Hold it in the middle using your thumb and index finger, gently squash and turn, working your way to the top. Turn it around and repeat the procedure, working your way to the other end. Both ends should now be slightly bulbous. Using your thumbs and index fingers gently squash the end so they are in line with the rest of your roll. Do not squash the roll smaller than you need to, have your project in mind during this procedure, if it is too narrow you will have difficulty covering your pendant. Cut the length into four equal parts and put together again, roll these gently to adhere all the clay, gently, very gently lengthening it as you go. Now cut a slice and look at the effect you have achieved. Good isn't it. You can use this to cover any of your projects.

This piece has been made in exactly the same way. The first four sausages were made using translucent white clay each tinted with a small piece of coloured clay. Scrap clay was used for the bulk of the heart, this was then
covered with gold and copper leaf. Very thin slices were taken from the roll and smoothed over the top. Once fired, this was very gently sanded with 1000 grade sand paper and washed in soapy water, this allows more of the leafing to show through, and lastly given a coat of
poly clay varnish. Very effective.

The fastenings for the pendants are an alternative to using findings. One part is a square bead with two holes going straight through, the other is a round bead with one hole. The idea is your cord pulls to form a noose to capture the bead, so forming the fastening. Superglue is wonderful for fastening cord to clay. I think I prefer this on a chunky pendant to the usual jewellery findings.

 The bracelet is made from large and small oval slices from the same mosaic. Holes were pushed through and then threaded with elastic.

The Double Heart Pendant is a squashed bit of the mosaic simply cut with a heart cutter and a smaller heart laid on top before firing. The colours have a lovely way of blending together and no two will ever turn out exactly the same, you will always find a small variation.
 What a fantastic effect this gives. The beads are made from translucent white Fimo, rolled to the required size and fired. I usually spike the bead on a cocktail stick so it is easier to hold and have to hand a piece of polystyrene to stick this into to dry. Load your felt applicator with your choice of colours and away you go. Just dab the bead. You will find that the ink will form it's own veins. I then dribbled a small amount of the copper mixative and gave the cocktail stick a quick swirl and hey presto! this is the result. You can see the fine veins on the close up, they look rather like marbles. The colours are not done justice in the photograph, they are very vibrant.

 Again the bars were made with translucent white Fimo and coloured.


 Three different sized beads were used in the necklace. The larger rolled triangle, a small round and a tube. Alternating the beads as they were threaded.


 You can get some amazing effects with polymer clay, you can marble, add glitter, stamp into it, use foil, the list is endless and is only limited by your own imagination.


 I have my friend Kath to thank for these two models, she asked if I could make a hiker, as her husband is very keen on walking. It was very helpful to know what he wore, this way I could personalise the model and make it special to him, which I hope I have.
  Meet 'Carrie Anne'. Complete with her stripy jumper and knitting needles, she has a lovely scarf on her needles, just right for the winter. I have to add that the glasses were a complete pain to make, I just could not get the sides to match, it took quite a while to get right.


 A closer look at his face, a handsome brute isn't he, right down to the scar along the length of his nose. Hope you like him.

 This is my Jester, very colourful, sitting holding his Jack-in-the-Box, which is just a little face on a piece of coiled wire stuck in his box. No armature was used on this peice, the main body and head were made out of one block of clay, first rolled into a ball and then gently rolled between thumb and index finger to form a divide for the head and body.


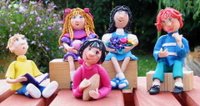
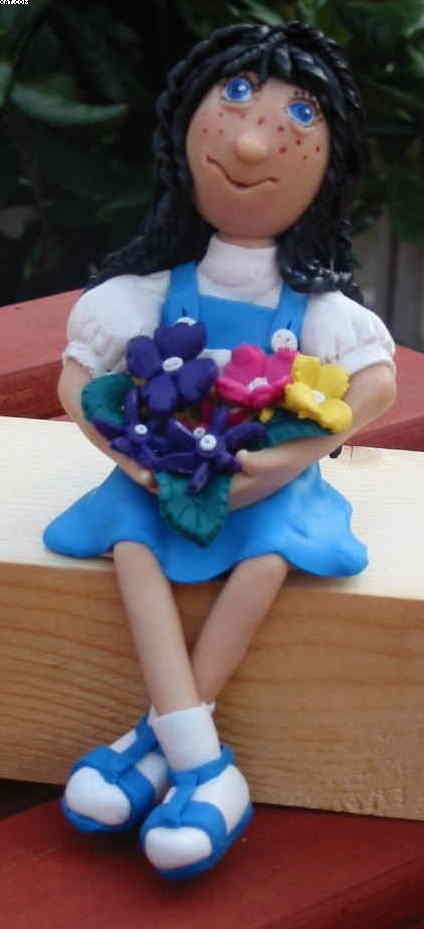


 He guards my desk! gerroff that stapler ................


