
I thought you may like to take a look at these photo canvases I have just made. I can't claim it was my idea and you can find links to the steps all over the internet but if you would like to keep reading I can let you into this fool proof method.
All you need is:
canvas
a photograph that is near enough the size of the canvas
acrylic paint
either a sponge brush or a 1" - 2" paint brush
scrapbook paper
Mod Podge
Begin by cutting the scrapbook paper into strips slightly smaller than the sides of the canvas.
Mod Podge around the edges of the canvas and wait a few seconds for it to go slightly tacky, stick this all around the sides as in the photograph below.
Cut your photograph just smaller than the canvas and Mod Podge the back of it not the canvas. Try not to get the Mod Podge on the photograph it can smudge the colour, I used my inkjet printer for the photograph and it worked fine.
Gently press the photograph onto the canvas, I found the best way was to line up the photograph then lay a piece of greaseproof paper on top and gently smooth it down.
Once dry, it only takes about 30 minutes you can Mod Podge the front of the photograph. I prefer the brush to do this. For the first coat go down vertically one way making sure it is all coated, when this is dry you can do the second coat vertically. This will give the effect of linen on your photograph.
The Mod Podge will be a milky white when first done but dries clear.
It really is very easy and I was pleased with the result, I may have to get more of these and get creating.
You can buy these canvases at various shops and they are very cheap. These had the easels with them which I covered in ginger alcohol ink and then a coat of water based varnish.
This is the photograph with the first coat.

This is the first coat when nearly dry.

You can see the difference in the wet and dry here.

When both coats are dry you can apply the acrylic paint, the choice of colour is entirely yours.


I added the corners and small flowers just as embellishments. I am rather pleased with both of them.

I used a small stipple brush lightly loaded with the paint, don't use too much better to add the paint sparingly and get the colour right than try and take it off!
This first photograph was smaller than the canvas so it has a bigger border you can see the difference between them, the second photograph was larger hence the smaller border.


I added the corners and small flowers just as embellishments. I am rather pleased with both of them.
and then of course I had to do some of our Bert.
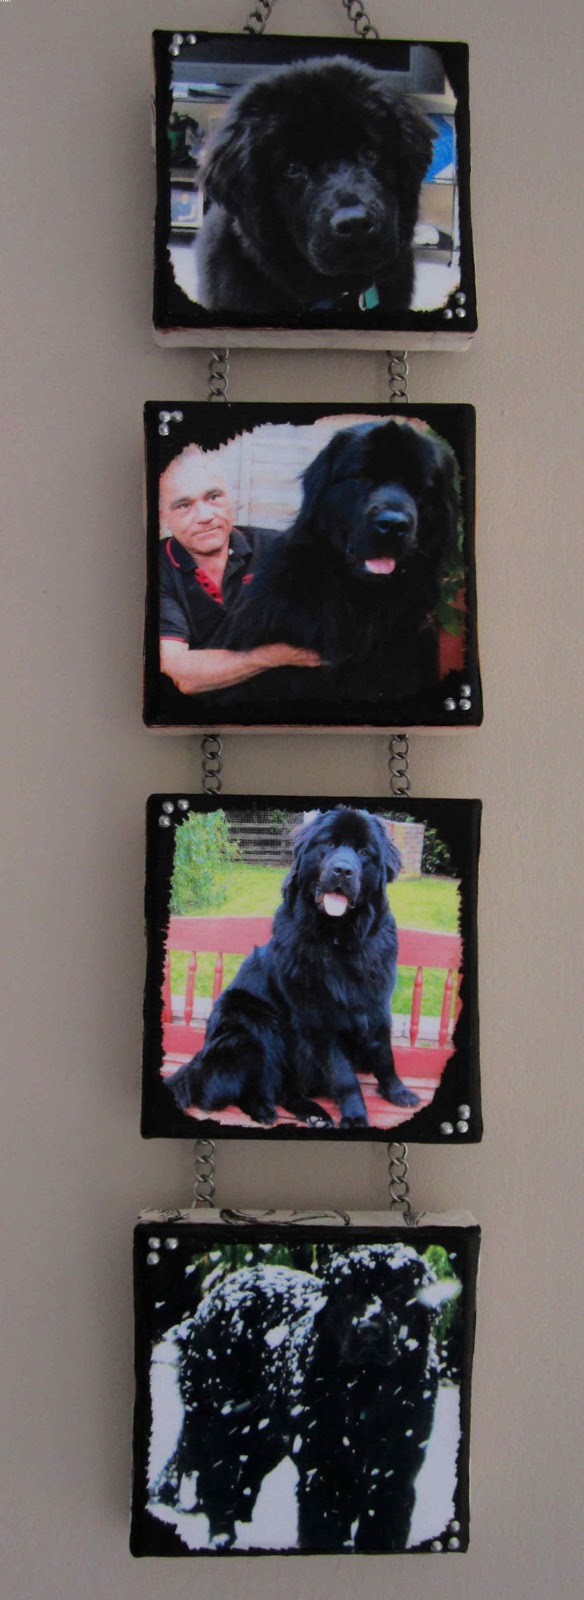
Hope you like them.

No comments:
Post a Comment